
The setup wizard: what to expect
When you first sign in, PoolHelm walks you through a nine-step setup wizard. The steps come in this order:
- Create your organization — your business name and details.
- Start your free trial — enter your card. You’ll need to finish this step before the rest of PoolHelm opens up.
- Service levels — the types of service you sell.
- Days you service — which days of the week your business works.
- Workflow templates — the steps your techs follow on a visit.
- Team — invite your technicians and managers.
- Chemical products — turn on the chemicals you actually carry, and record your cost. You need at least one sanitizer switched on before you can continue.
- Dosing formulas — switch on the formulas that tell PoolHelm how much of each chemical to recommend.
- Homeowner payments — “Last step — get paid by card.” Choose Set up your Stripe account so your customers can pay you by card. There’s also Skip and finish later, which genuinely finishes setup — the step lives on under Settings → Homeowner Payments whenever you’re ready.
When you finish, you land on your Today page — home base for running the business day to day.
Three things that save people time:
- Setup and Settings are the same screens. This changed, and it matters. The wizard used to be a cut-down version of Settings — you could switch things on during setup but only add, edit, reorder and delete afterwards, which meant setup couldn’t produce a finished account no matter how carefully you worked through it. Now each step is the Settings page, in a wizard frame. Anything you can do later you can do now, and when you reach the end you’re genuinely ready to work.
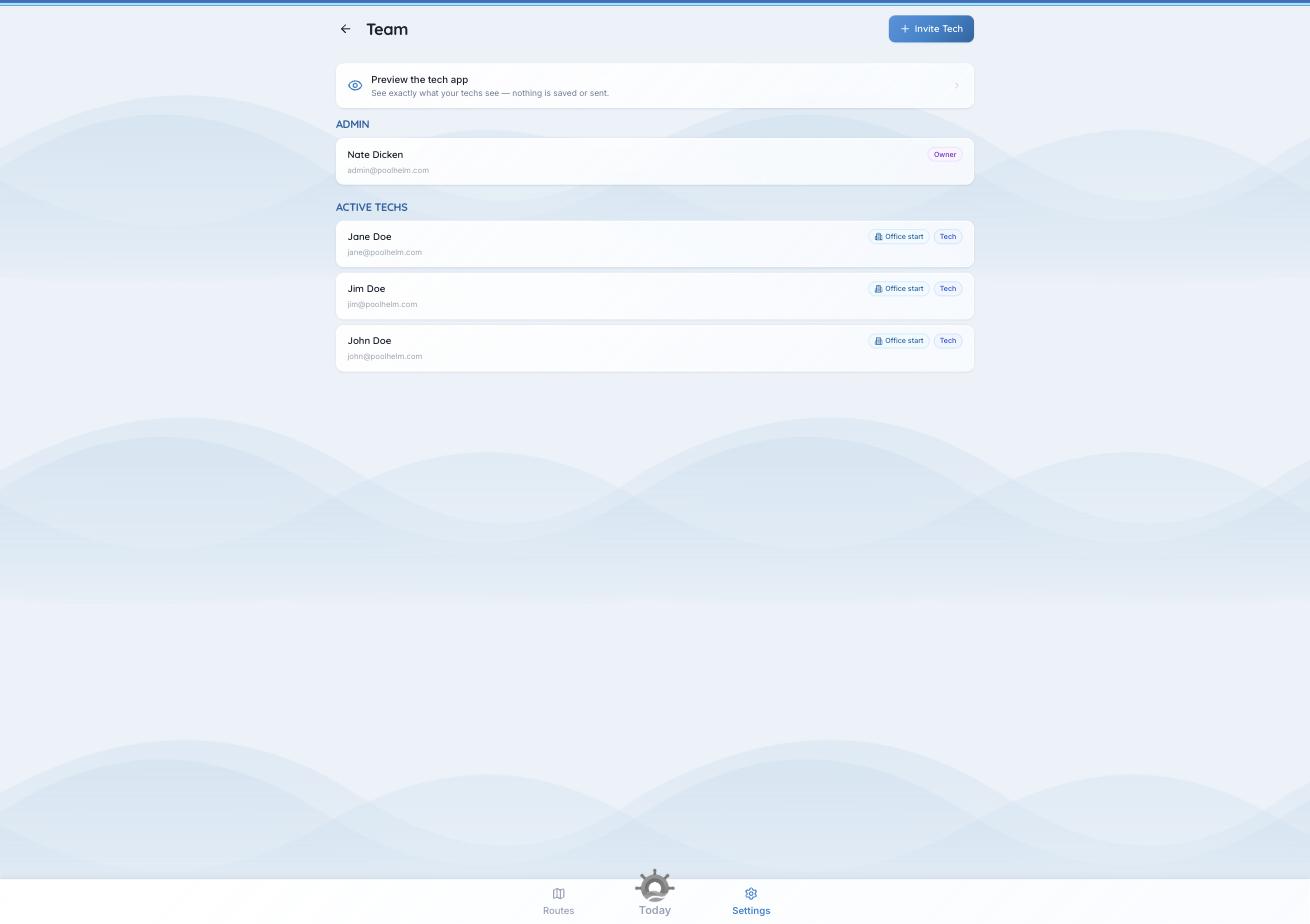
Every setup step has a matching Settings page — and it is the same screen. - You can go back to a step you’ve already done. From Service levels onward, each step has a back arrow. The first two — creating your organization and starting your trial — are one-time actions, so they don’t have one; that’s why Service levels is the first step without a back arrow rather than a bug. - The last step is skippable, and skipping it still finishes setup. Connecting Stripe takes tax and bank details you may not have to hand on day one. Skip and finish later completes onboarding and leaves the step under Settings → Homeowner Payments. Nothing else in PoolHelm is blocked by it — you can run routes, complete visits, and send invoices for payment by check in the meantime. See “Connect your Stripe account.”